Stratocaster Rebuilt Part 2
So, the weather is slightly milder and the Stratocaster respray project continues. This afternoon I managed to get the dark edges sprayed and the paintwork is coming along as planned.
I had thought about using an airbrush and fine detailing the black paint around the edges of the strat body. Then realised that templating it and using a 125ml spray gun with black 2K paint would bring an interesting result. So here’s what I did:
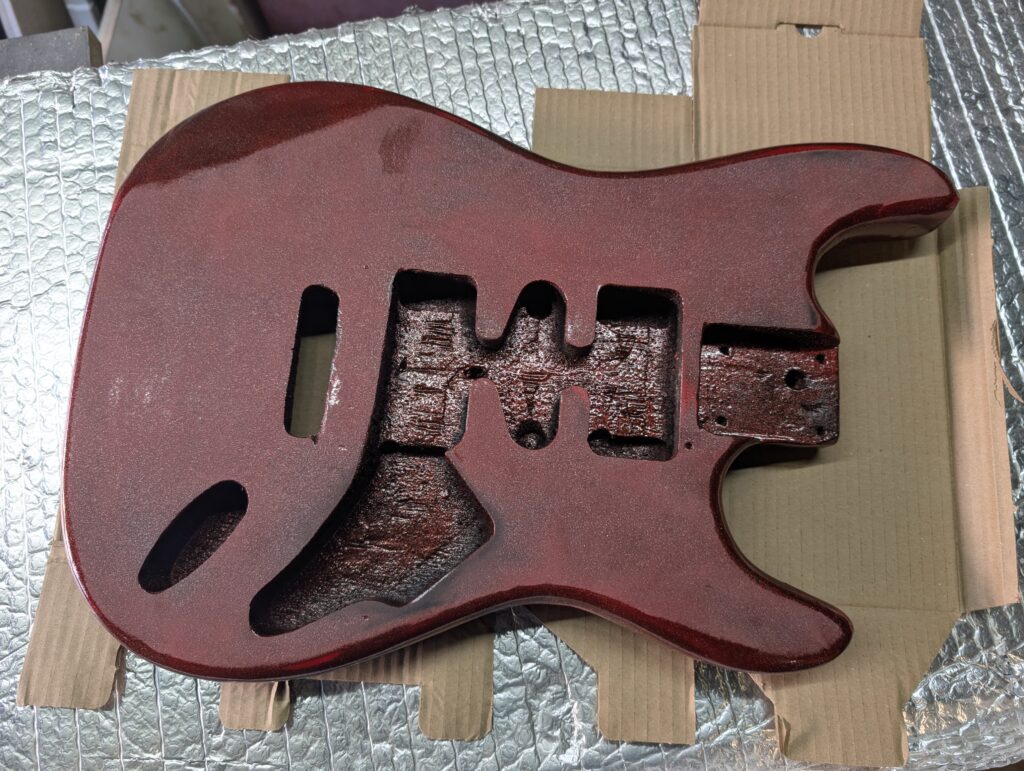
First up, find a piece of cardboard larger than the body. I didn’t quite have a large enough piece but it would suffice for the job in this instance. Lay the body onto the cardboard and using a sharp tip marker draw and outline around the body so that you end up with an image of the body on the cardboard below. You don’t need to be highly accurate here, but keep it smooth and the cutting out will be easier.
Next we need a pair of scissors or sharp craft knife to cut the cardboard along the line we’ve created. If you want a sharper edge to your spraying then make the template smaller by trimming the outline off by about 20mm.
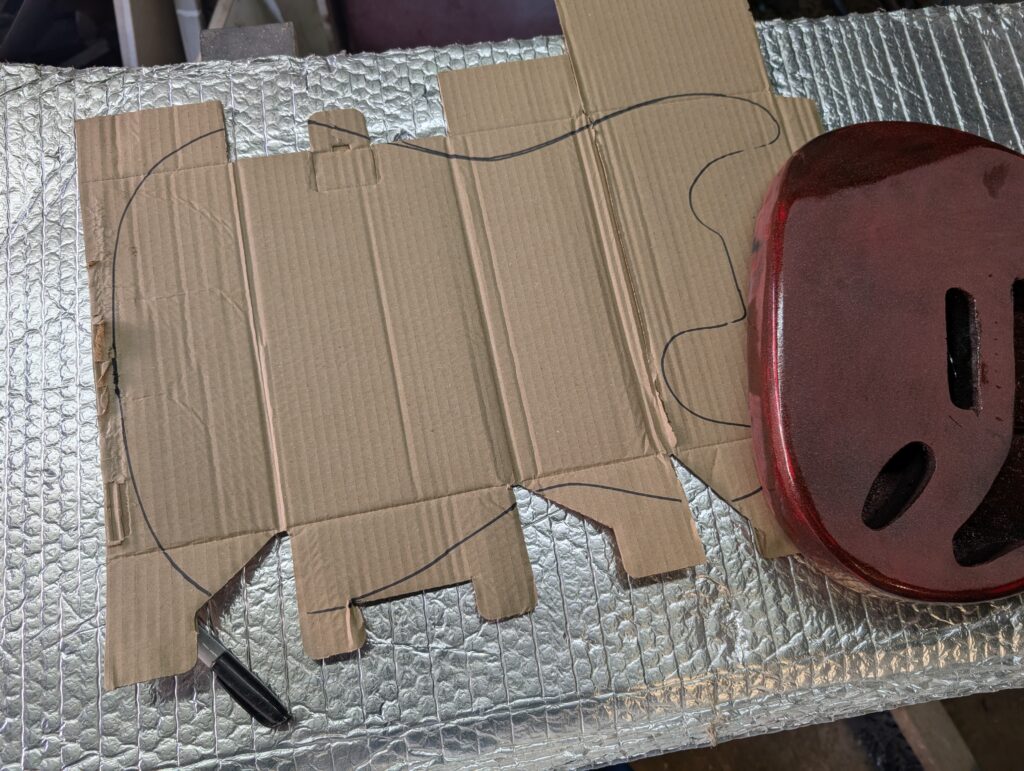

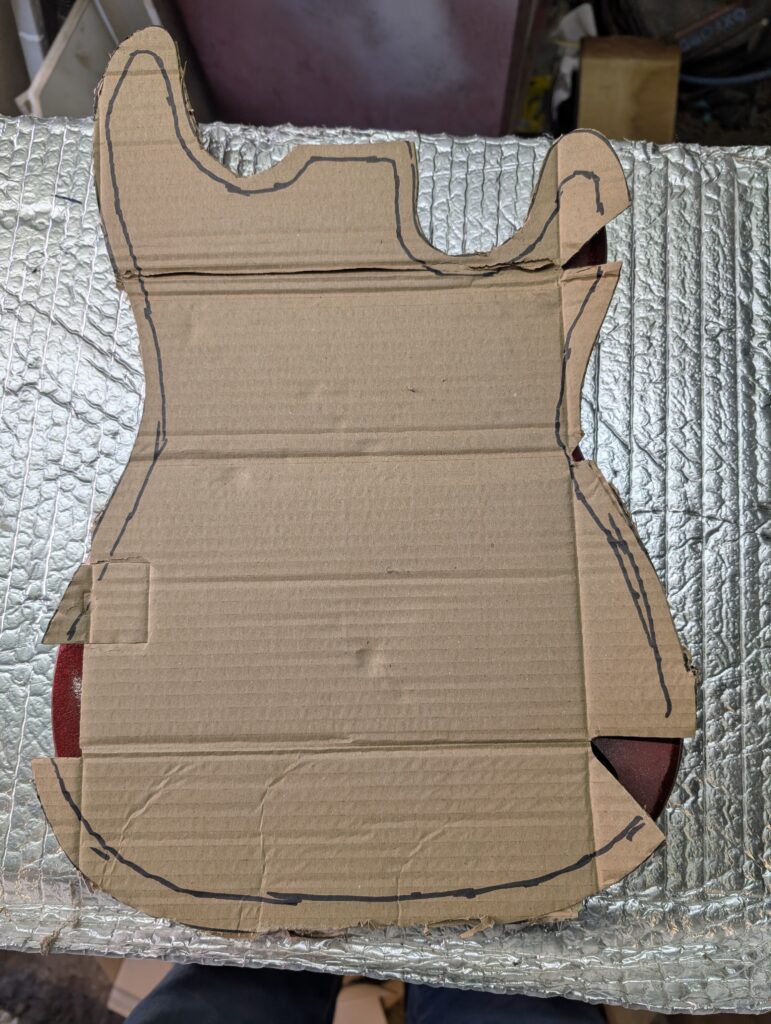
I opted to keep the template the same size as the body of the Strat and offset it slightly from the body. This would mean that the spray would have a chance to access a little further into the centre of the body without leaving a harsh edge. If you made the template smaller and placed it directly on top of the body prior to spraying you’d get a hard edge to your black spray where the cardboard protected the red on the body.

The next job is to offset the card away from the body so that the spray can naturally get underneath the edge and colour the body with a feathering effect. I didn’t have any paint pyramids to hand to used four 1/2 impact socket stood on end and then rested the cardboard on top. After that and due to the creases in the cardboard I place an old piece of MDF I had on top to flatted everything out and stop the cardboard moving during spraying.
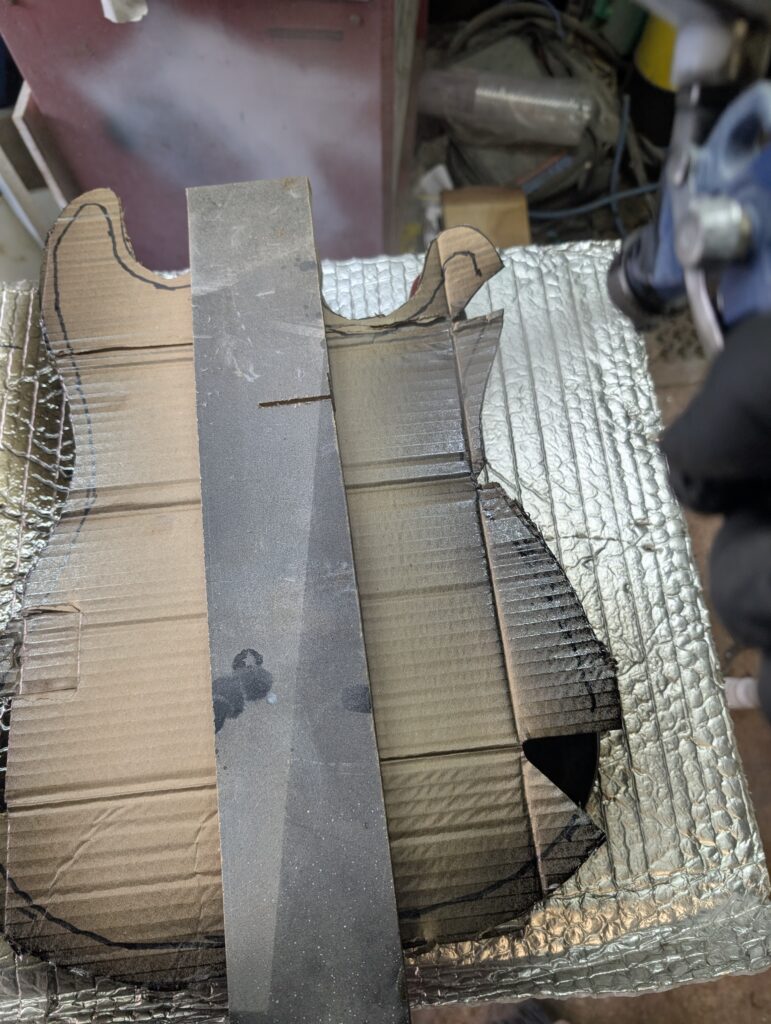
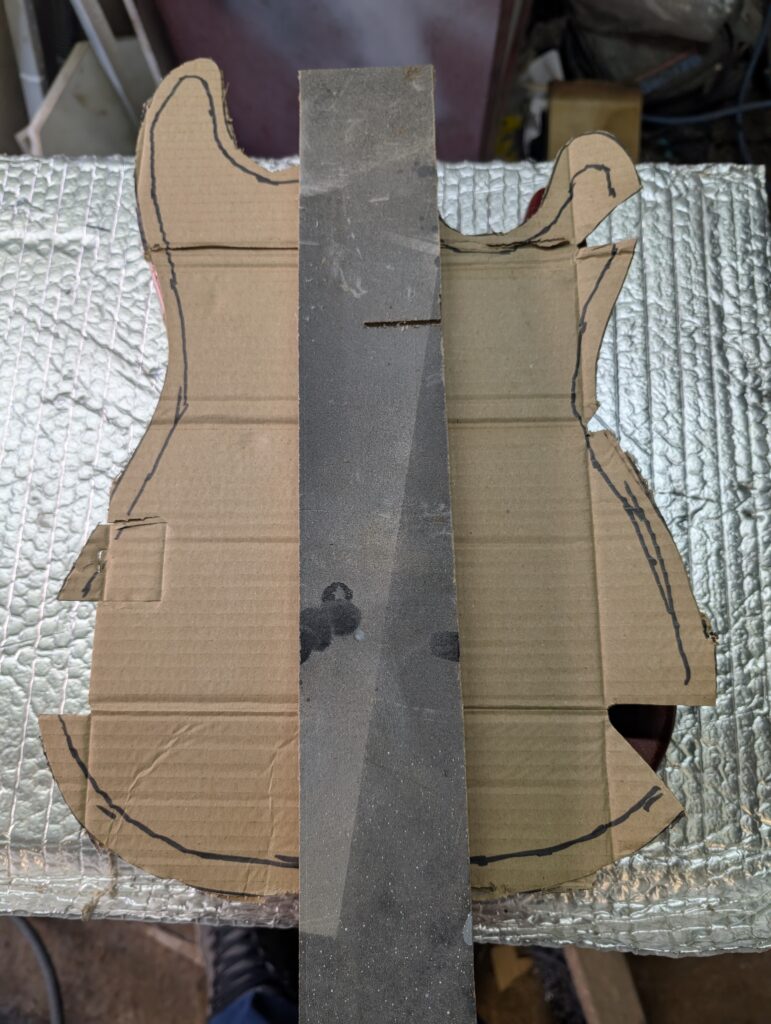
Then its a case of mixing the paint, donning the kit and spraying. Remember; 2 pack paint is not nice stuff. Gloves, Mask and overalls are needed to stop you getting ill. Try to keep the spray gun above the piece and facing downwards to start as this will avoid you blowing paint towards the centre of the body.
Again, long strokes of the spray gun and don’t linger anywhere of you’ll get a paint build up and runs (getting more important now that we near the top layers of paint). Then when you’ve finished remove the cardboard and the standoffs and inspect your paintwork.
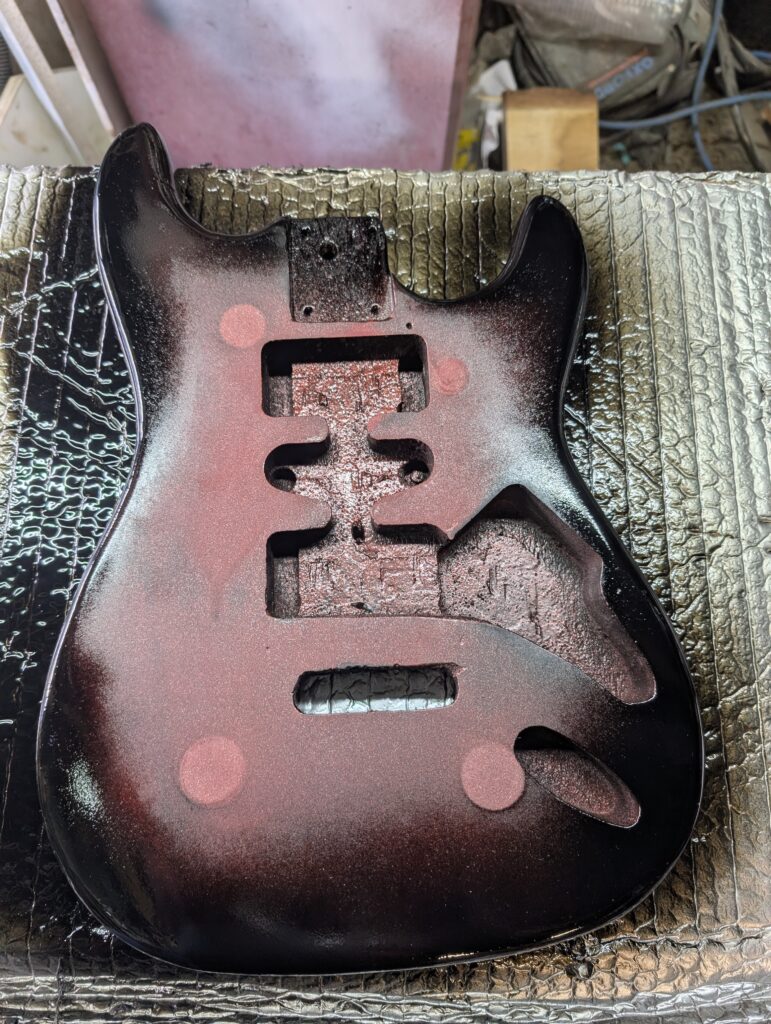
You can see how the paint hasn’t made it all the way to the centre due to the cardboard shield in place. The sockets left a circle where they are sat, but this will be rubbed away when we sand the coat. As the black is over the top of the red metallic it can be cleared back with sand paper if we want more red to show through.
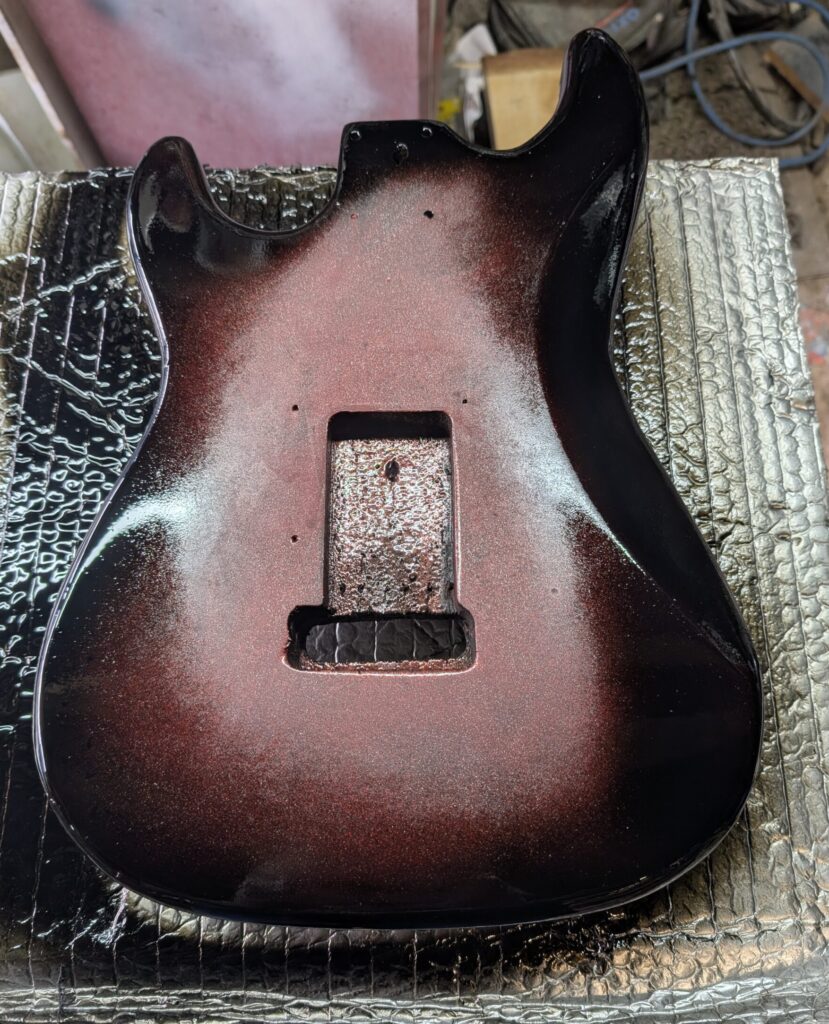
Once you’re happy, carefully flip the body over and rest it on the sockets you used earlier, then do the same to the rear. I free handed the back with a smaller spray gun and blended the fade around the edges and the body.
Wait for it to dry and then we’ll start sanding again…


Post Comment